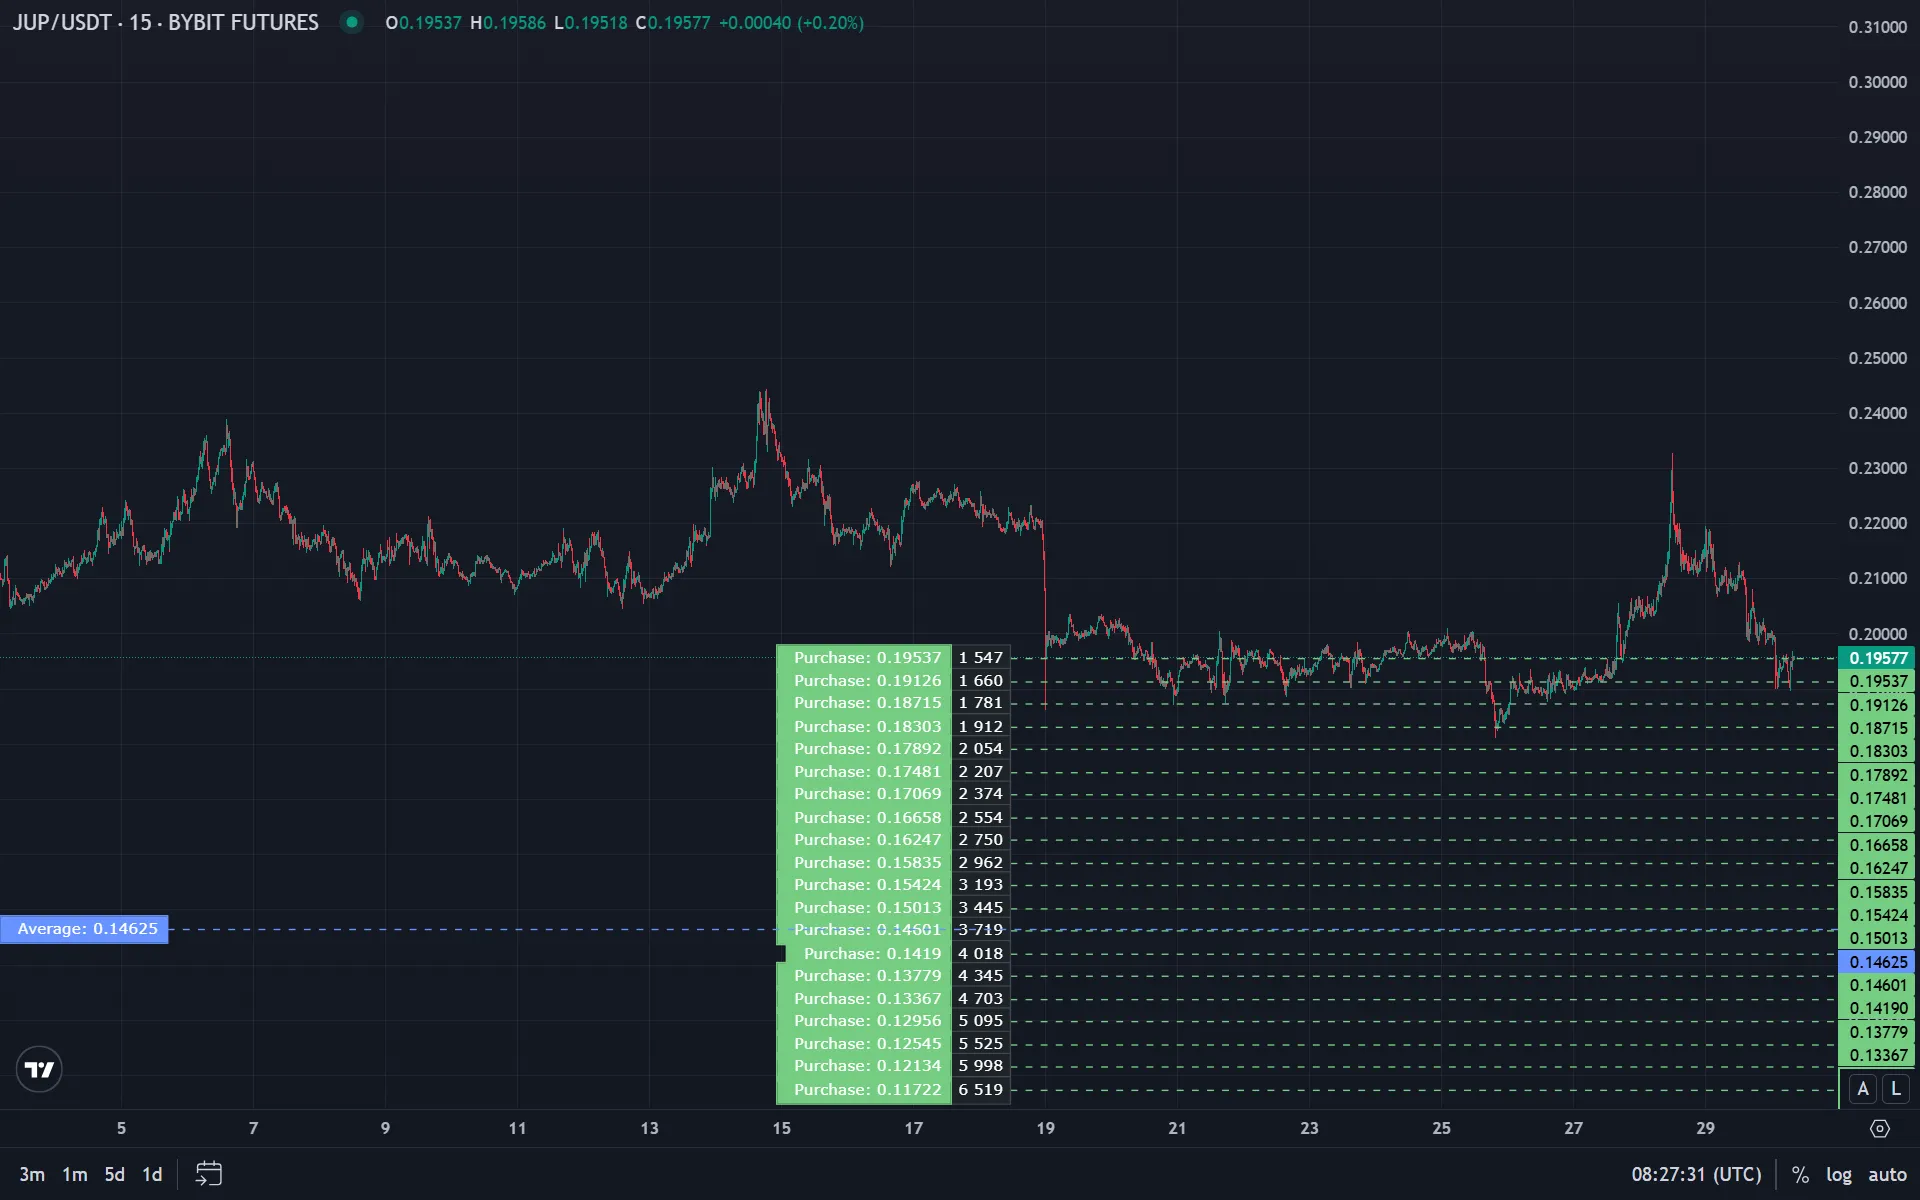
Grid trading is a strategy where buy and sell orders are placed in a grid over a chosen price range. A bot buys at lower levels and sells at higher ones, profiting from price swings inside the range.
This article covers how a grid strategy is set up, when it works best, risks, and links to sideways-trend and other blog materials.
What Is Grid Trading
Grid trading places a series of buy and sell orders at equal steps within a price range. Lower levels are buys, upper levels are sells. As price moves up and down inside the range, it triggers buys and sells in turn; profit is locked in on the price difference at each grid level minus fees.
Main Grid Parameters
- Price range — lower and upper bounds for the grid. Usually set manually from support/resistance or as a percentage of current price.
- Grid step — distance between orders in percent or absolute terms. Smaller steps mean more orders and more potential trades but higher fees and more one-sided exposure in a strong move.
- Number of levels — how many buy/sell orders. Depends on step size and range width.
- Size per level — volume or amount per order. Can be the same on all levels or vary (e.g. larger near the middle).
Grid does not require a trend forecast; it assumes price will oscillate inside the chosen band. For more on range trading, see strategies for sideways markets.
How the Grid Works in Practice
Example: BTC/USDT range $60,000–$66,000, 1% step, 0.001 BTC per level. Buy levels: $60,000, $60,600, $61,200, … Sell levels are the same, with sell orders above current price.
Price drops from $63,000 to $61,200 — two buy orders fill, position builds. Price reverses and rises: at $61,200 and $61,800 sell orders fill — part of the position closes in profit. Price drops again — more buys fill, then up — sells. Each buy→sell cycle at a level gives the price difference minus fees.
The more often price moves inside the range without leaving it for long, the more such cycles and the more effective the grid. If price breaks above or below and does not return, the grid is left with a one-sided position (all buys or all sells filled); outcome then depends on further price action and settings (stops, grid shift, etc.).
Before going live, grid parameters are best checked with backtesting on historical data: choose range, step, and size to match asset volatility and exchange fees.
When Grid Is Effective
Grid works best in sideways (range) markets — when price moves in a horizontal band for a long time without a clear breakout. In that case, repeated bounces off grid levels generate many trades and potential profit.
Conditions that favour grid:
- A clear range with visible support and resistance.
- Enough volatility inside the range — price regularly reaches grid levels instead of staying in a narrow band.
- Relatively stable boundaries — the range does not shift or break often.
In a strong one-way trend, grid is risky: price leaves the range, one side of the grid fills, the other does not — a large one-sided position without grid hedging. So grid is a sideways-market strategy, not a trend-following one.
Risks of Grid Strategy
Price leaving the range — the main threat. If price moves above or below the range and stays there, the grid accumulates a one-sided position (only buys or only sells filled). P&L and drawdown then depend on further price movement and whether there are stops or position limits.
One-sided accumulation — even inside the range, a prolonged move in one direction can fill one side of the grid more often. Control total position and risk (size per level, deposit limits). Risk-management principles apply here.
Fees — frequent order fills eat into profit. On high-frequency grids with small steps this is especially visible; backtests must include fees and slippage.
Wrong range choice — too narrow and price exits the grid quickly; too wide and most orders may never fill. Tune parameters on history and test on demo before going live.
Grid vs Other Strategies
Grid vs DCA — different goals. DCA is time-based fixed-amount purchases for accumulation and averaging entry. Grid profits from swings inside a price range via many buy–sell pairs. DCA does not require selling; grid is built on buy/sell cycles.
Grid and sideways trend — grid is one formalized range-trading strategy. Broader context (how to spot a range, other approaches like range trading and oscillators) is in trading strategies for sideways markets.
Grid and backtests — before running a grid live, it makes sense to test range, step, and size on historical data and account for fees; backtesting basics are covered in a separate blog article.
Summary
Grid trading is placing buy and sell orders at a fixed step within a price range. The strategy is effective in sideways markets when price repeatedly hits grid levels; in a strong trend or after price leaves the range, there is risk of a large one-sided position. Consider fees, set range and size carefully, and check parameters with backtesting and risk management; for comparison, see materials on sideways-trend strategies and DCA.
FAQ
What is grid trading in simple terms?
Grid is a set of buy and sell orders in a price range. As price moves up and down inside the range, it triggers buys and sells in turn; profit comes from the difference at each cycle minus fees.
When is grid strategy effective?
Grid works best in a sideways (range) market, when price oscillates inside the range for a long time and does not leave it far. For more on that, see strategies for sideways markets.
How does grid differ from DCA?
DCA is regular fixed-amount purchases over time (accumulation, averaging entry). Grid is many orders in a price range to profit from swings; both buys and sells are required. For DCA, see DCA strategy in crypto.
What are the risks of grid?
Main risk is price leaving the range — then a large one-sided position builds. Fees on frequent trades and correct choice of range and step also matter. Risk management and backtesting parameters help reduce risk.
Should I backtest grid?
Yes. On history you check how often price stays in the range, how many trades the grid produces, and how fees affect results. That helps choose range, step, and size before going live. Backtesting basics are in a separate blog article.
Can I combine grid with other strategies?
Grid is a distinct strategy (range trading). The same account can be split between approaches (e.g. part grid, part DCA), but stay within overall risk management and remember that grid needs monitoring of range and position.
Summary
Grid trading is a powerful tool for working in a sideways trend. With the right parameters and risk management, it allows you to profit from price fluctuations.
You can start trading on proven exchanges:
- Bybit — an excellent choice for working with trading bots
- Bitget — user-friendly interface and bonuses
- BingX — social trading and copy trading
Disclaimer
This blog is for informational purposes only. It does not constitute financial or investment advice.
Trading cryptocurrencies and other financial instruments involves high risk. You may lose all your funds.
The author is not responsible for any financial losses resulting from the use of information from this blog.