A trading system is a set of rules: when to enter and exit, how much to risk, how to allocate capital. Without clear rules, decisions become emotional and inconsistent; with rules it’s easier to keep discipline and evaluate results.
In this part — how to build a basic system and align it with diversification from Part 1. In Part 3 — monitoring, tuning, and common mistakes.
What is a trading system
A trading system is explicit rules instead of impulses: when to enter and exit, what position size to allow, where to set stop losses and take profits. Without such rules, decisions depend on mood and market noise; one “gut” trade leads to the next and the outcome is hard to evaluate. With rules you can test the system on history (backtests), compare results with expectations and adjust parameters if needed.
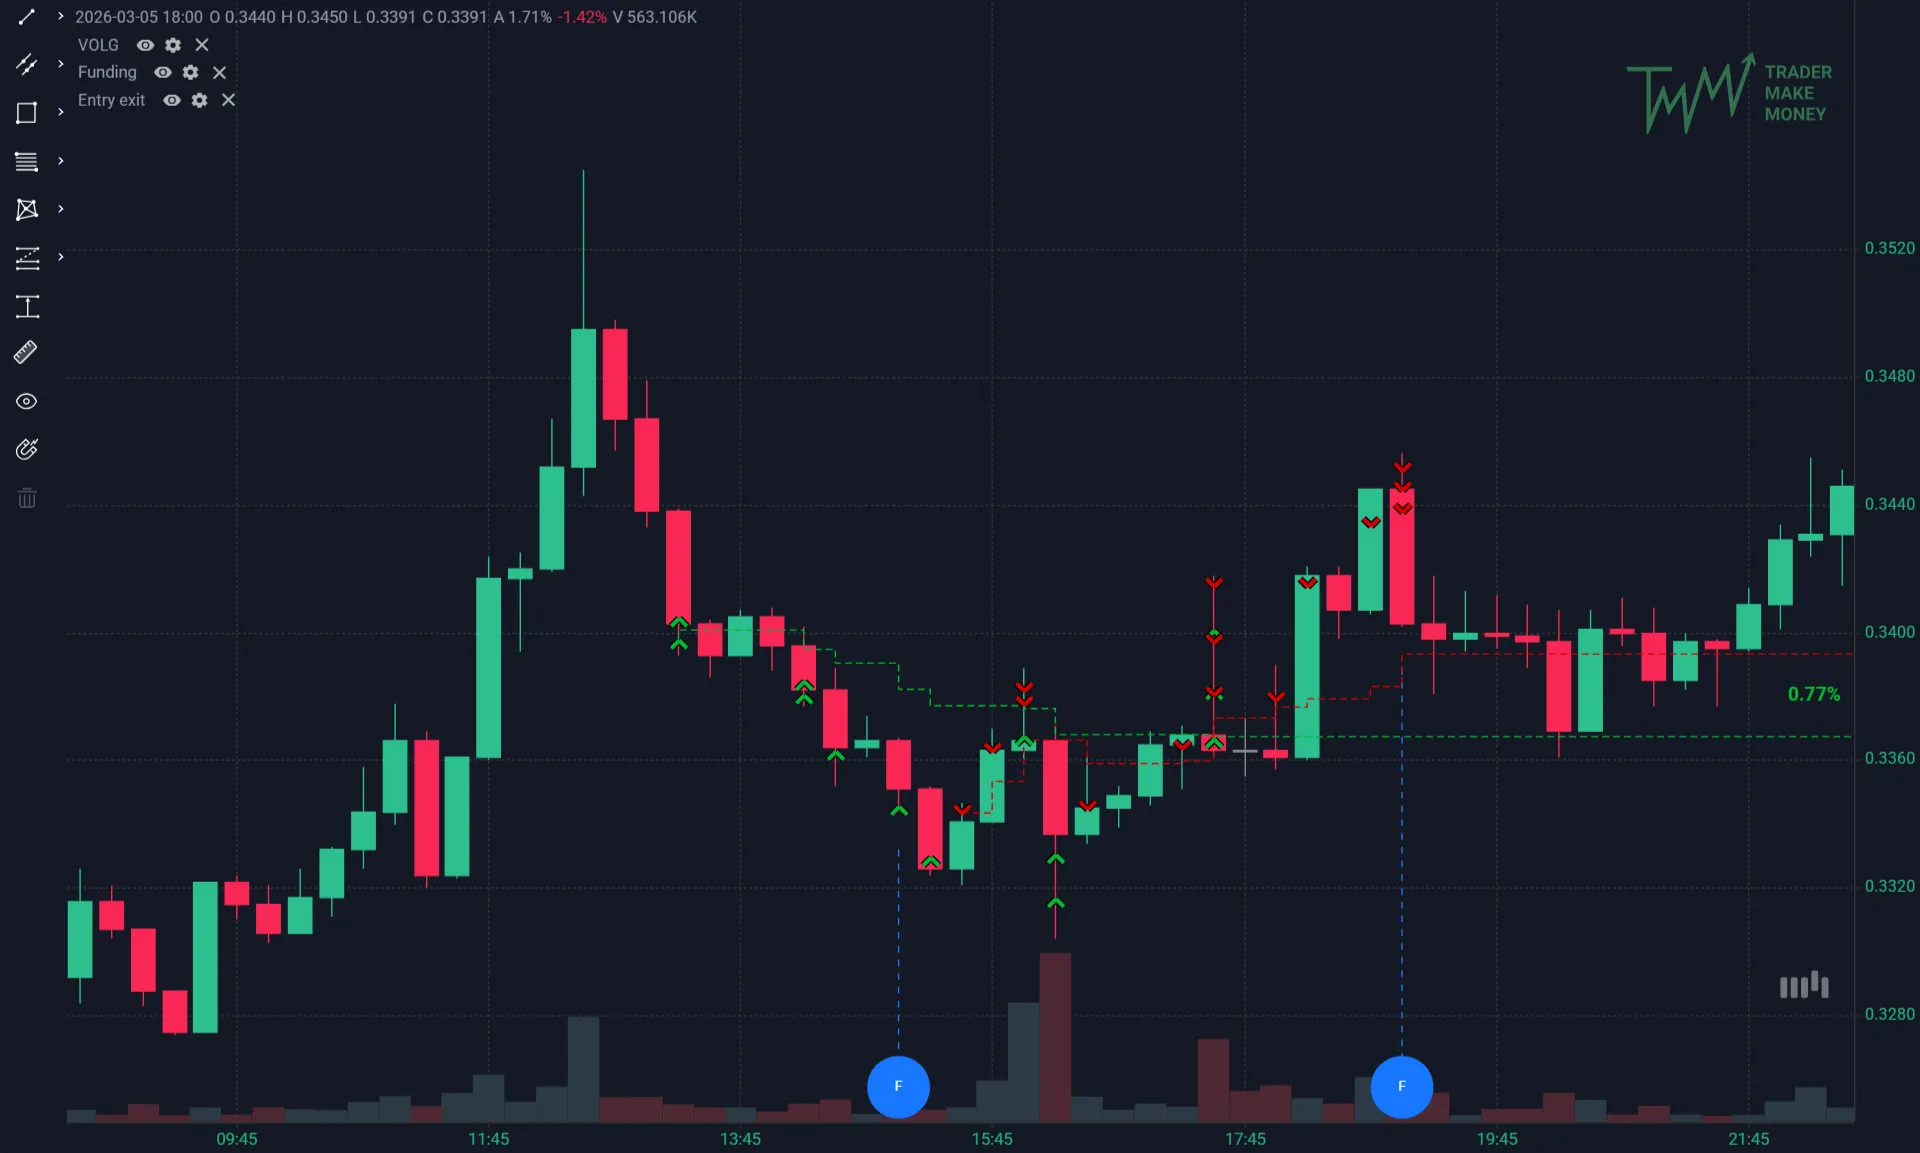 Fig. 1. Trading system flowchart: entry rules, position size, stop-loss, exit
A basic system includes: entry and exit criteria, position size and risk per trade, choice and configuration of bots in line with diversification by assets and venues from Part 1.
Entry and exit rules
Entry criteria come from technical analysis or strategy logic: e.g. support level, indicator signal, or DCA/grid condition. Write them down clearly: “we enter on RSI < 30 and bounce from level,” “DCA triggers every N days on X% price drop.” Exit — by targets (take profit) and stop losses; don’t hold “hoping” if the rule already triggered. If the stop hit — close by the rule, not “wait for a bounce”; otherwise risk gets out of control. Before going live, test rules on history — backtests show how the system would have behaved in the past and what drawdowns are possible.
Position size and risk per trade
Risk per trade is the share of the deposit you are willing to lose in one trade; from it depend position size and distance to stop loss. Example: $1000 deposit, 1% risk per trade — $10; with a 5% stop from entry price, position size must not lead to more than $10 loss. Set a maximum and don’t exceed it. So one bad trade doesn’t hit the whole capital; a string of losses is also limited. Many recommend no more than 1–2% per trade; with strong diversification, slightly higher risk per idea can be acceptable if overall portfolio risk is under control. For our approach see risk management in crypto trading.
Choosing and configuring bots
DCA and grid trading solve different tasks: trigger conditions and limits per bot are set separately. DCA averages entry over time; grid trades in a range. To connect to an exchange you’ll need API keys and an understanding of position limits — step by step in setting up a bot on Bybit. Don’t concentrate all volume in one bot: allocation across several strategies and pairs should match diversification by assets and venues from Part 1. Before launch check: position limits don’t exceed your risk per trade and overall portfolio risk.
Summary
System = entry/exit rules + position size and risk + diversification by assets, strategies, and venues. Next — Part 3: tuning for yourself and common mistakes.
FAQ
How many strategies to run at once?
Start with 1–2. When they work stably — add more. 3–5 strategies is usually enough to start.
How to determine risk per trade?
1–2% of deposit. With heavy diversification, you can go slightly higher, but overall portfolio risk must be controlled.
Do I need to test the system on history?
Yes, required. Backtests show drawdowns and past system behavior.
What risk management for DCA bots?
Risk is calculated on the full position (including averages), not just first entry. Usually 1–2% of deposit.
Can I run DCA and grid on the same asset?
Possible, but hard to manage. Better to separate: either DCA or grid on one asset.
Disclaimer
This blog is for informational purposes only. It does not constitute financial or investment advice.
Trading cryptocurrencies and other financial instruments involves high risk. You may lose all your funds.
The author is not responsible for any financial losses resulting from the use of information from this blog.